
I don’t want to brag, but I’m considered a pretty good gift-giver. I like to add that extra personal touch to Christmas gifts that make them stand out. But, I am also acutely aware that there is precious little free time during the holiday season to make every gift by hand with hours of personal thought and consideration toward the giftee.
Luckily, I have the solution that gives the personal touch without the massive time investment—hot chocolate spoons.
Whether you need an easy stocking stuffer or a quick gift for your Secret Santa swap, hot chocolate spoons have you covered. They’re incredibly easy to make, don’t require many ingredients, and have that handcrafted touch that makes Christmas gifts extra special. What more could you ask for?
The Best Christmas Stocking Stuffer
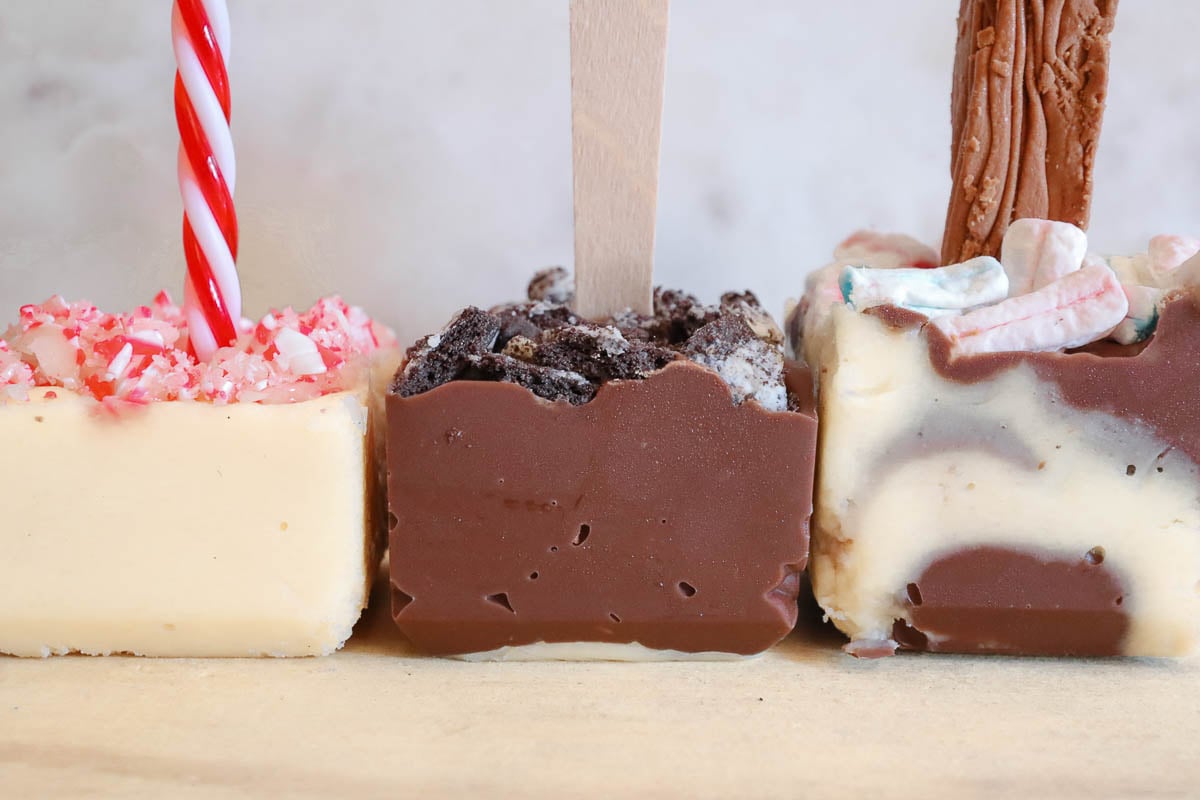
Arguing that hot chocolate spoons are the perfect Christmas gift seems like a tall order, but I have plenty of evidence to support my argument.
Firstly, who doesn’t like chocolate? It’s a gifting staple for a reason. There aren’t many people who wouldn’t be excited by a gift of chocolate in some form. That’s one box ticked.
But a standard box of chocolates can seem like an afterthought for a Christmas gift. Not the case with hot chocolate spoons. Your homemade chocolate spoons are easy to personalize with unique toppings and decorations specific to the recipient. If they love smores, top them with graham crackers and marshmallows. If they love citrus, combine orange zest with a dark chocolate base.
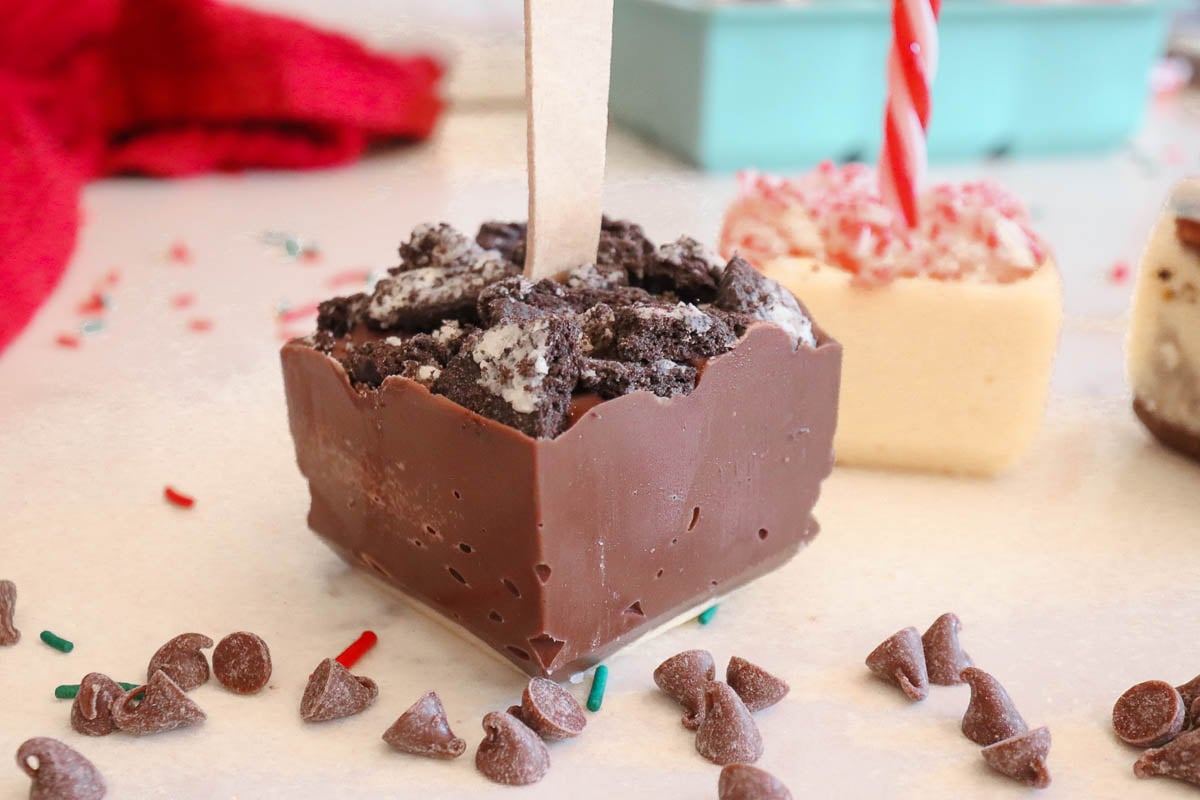
That brings me to my next benefit – getting creative. You can play around with endless flavor combinations in your chocolate spoons. As long as it tastes good with chocolate (and let’s be honest, what doesn’t?), you can pop it in this recipe.
Making your own hot chocolate spoons is quick and easy, two obvious bonuses at Christmas time. But that also means it’s a great recipe and craft to do with kids around the holidays. As supervisor, you can handle the melting part and let your kids handle the decorating part.
And finally, I love giving hot chocolate spoons as Christmas gifts because Christmas is the perfect time to use them. Icy temperatures, cozy blankets, and family gatherings are always made better with an offer of, “Who wants hot cocoa?” Plus, these chocolate spoons are made with the real thing, far better than any powdered cocoa you may have tried.
What You’ll Need

Now that you’re convinced, let’s move on to the specifics. You don’t need much for this recipe, and any extras for personalization are completely up to you.
For starters, you obviously need chocolate. Although you can use any chocolate, I highly recommend using high-quality chocolate for this recipe. It makes the taste much richer and more luxurious than using the cheapest chocolate you can find.
The type of chocolate is up to you. I prefer dark chocolate, but as is the beauty of this gift, you can choose whatever type of chocolate your family and friends prefer. Chips are easiest to melt, but you can also break up or chop bars into smaller pieces as needed.
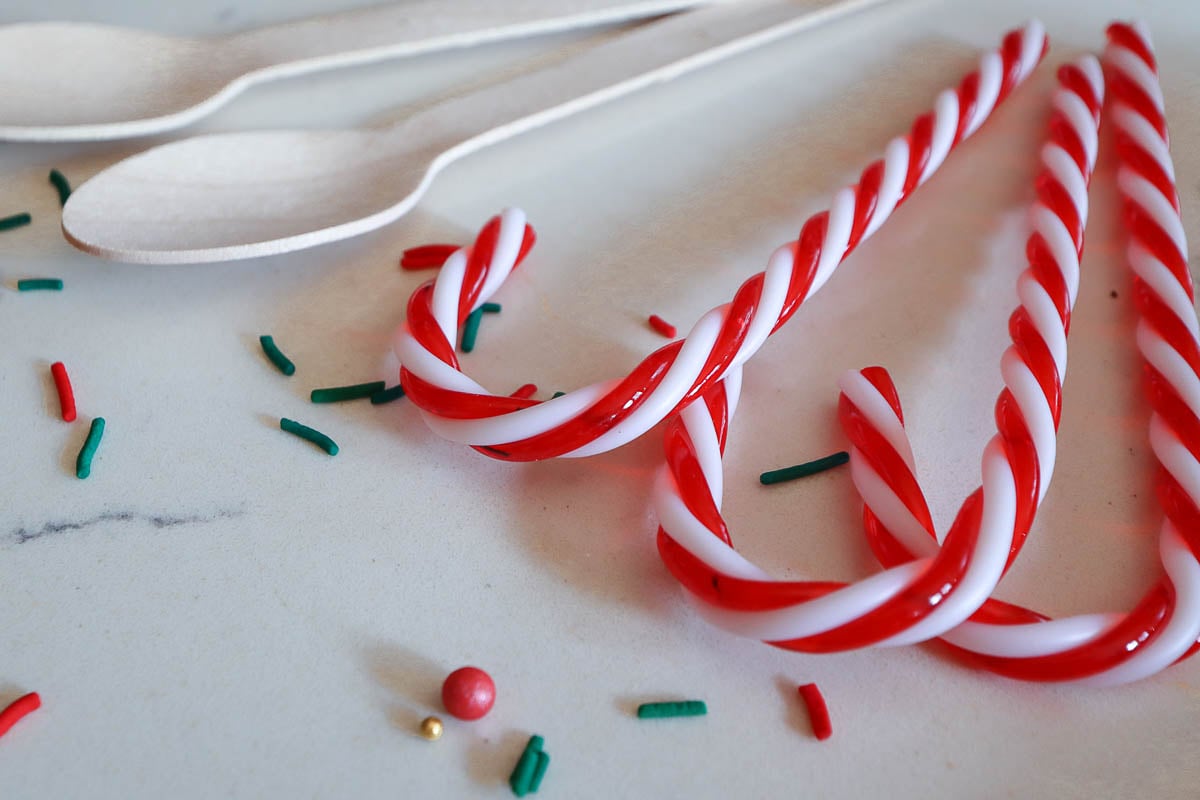
Next, the ‘spoon’ part of the equation. They don’t actually have to be spoons, but it does add to the whimsy of the gift. Wooden spoons are best for making several at once, but I have also used regular teaspoons (gifted to my sister, who seems to have a teaspoon-disappearing problem in her home). I also used plastic candy canes as spoons for an extra Christmas touch and chocolate bars for extra flavor.
It is possible to use spoons alone without any kind of mold, and I think these do look cuter. But in my experience, they don’t fit nearly enough chocolate to make a satisfying hot cocoa. Instead, I use silicone ice trays. Not only are they easy to work with, but they also come in different shapes for a bit of extra fun.
If your ice trays are a little too small, you can also use yogurt cups as molds. Be sure to clean them thoroughly before filling if you go this route.
Toppings

Those are the basic materials. But toppings are when the fun starts. The combinations are totally up to you, but here are a few variations to get your creative juices flowing:
- Christmas classic: Mini marshmallows and peppermint candy
- Coffee lovers: Instant coffee and vanilla syrup
- Birthday cake: Rainbow sprinkles and vanilla extract
- Choc and peanuts: Peanut butter and chopped nut sprinkles
- Salted caramel: Caramel swirl and sea salt sprinkle
Mix liquid toppings into the chocolate once it’s melted (but don’t add too much liquid or your chocolate won’t set well). Other toppings are sprinkled on once the chocolate has set slightly. If you are adding lots of toppings, I recommend using a mold rather than piling them onto single spoons.
Hot Chocolate Spoons Recipe

The exact ingredient measurements will depend on the size of the molds you use and what toppings you’re using. You can also adjust based on dietary restrictions, like using dairy-free chocolate.
For my ice cube tray spoons, I used:
- 1 cup white chocolate chips
- 1 cup milk chocolate chips
- 2 wooden spoons
- 2 candy cane sticks
- 2 chocolate bars
- 2”x2” block ice mold
- Peppermint, marshmallow and cookie toppings
While you can use regular spoons to pour the chocolate into the mold, I filled a reusable piping bag instead to avoid extra mess. Don’t forget to clean it out before the leftover chocolate sets inside.

Once you’ve gathered everything, follow these simple steps:
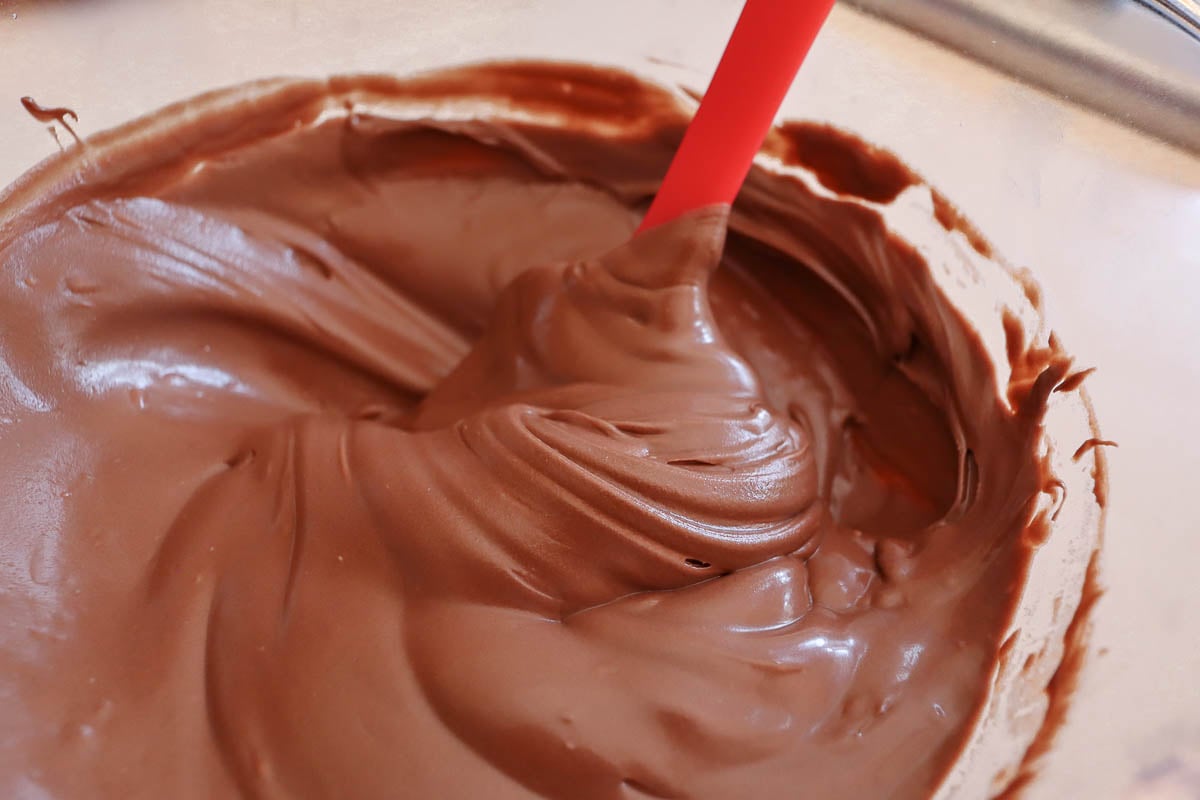
- Grab a microwave-safe bowl and add your chocolate. If you’re using different types of chocolate and want to use them to decorate at the end (like making a swirl pattern, for example), melt them in separate bowls.
- Melt in the microwave for 30 seconds at a time, stirring thoroughly until all the chocolate is melted. The time will depend on your microwave and how much chocolate you’re using.
- If you have toppings you want to mix in, add those after the chocolate has melted.
- Leave the chocolate to sit for a minute to cool slightly. Then pour it into your molds and place the spoon upright in the center.
- After a few minutes, sprinkle your toppings on the chocolate. For larger toppings like cookies or marshmallows, press them in gently so they will stick to the chocolate once it sets.
- Place the mold in the freezer for around 20 minutes. Once set, take the spoons out of the mold and wrap them individually.

If you want to get a little more artistic with your spoons, you can combine different types of chocolate in various patterns. Use contrasting dark and white chocolate to make swirls, or allow one half to set before finishing with a different type of chocolate to create visible layers. It’s about creativity after all!
Gifting Hot Chocolate Spoons
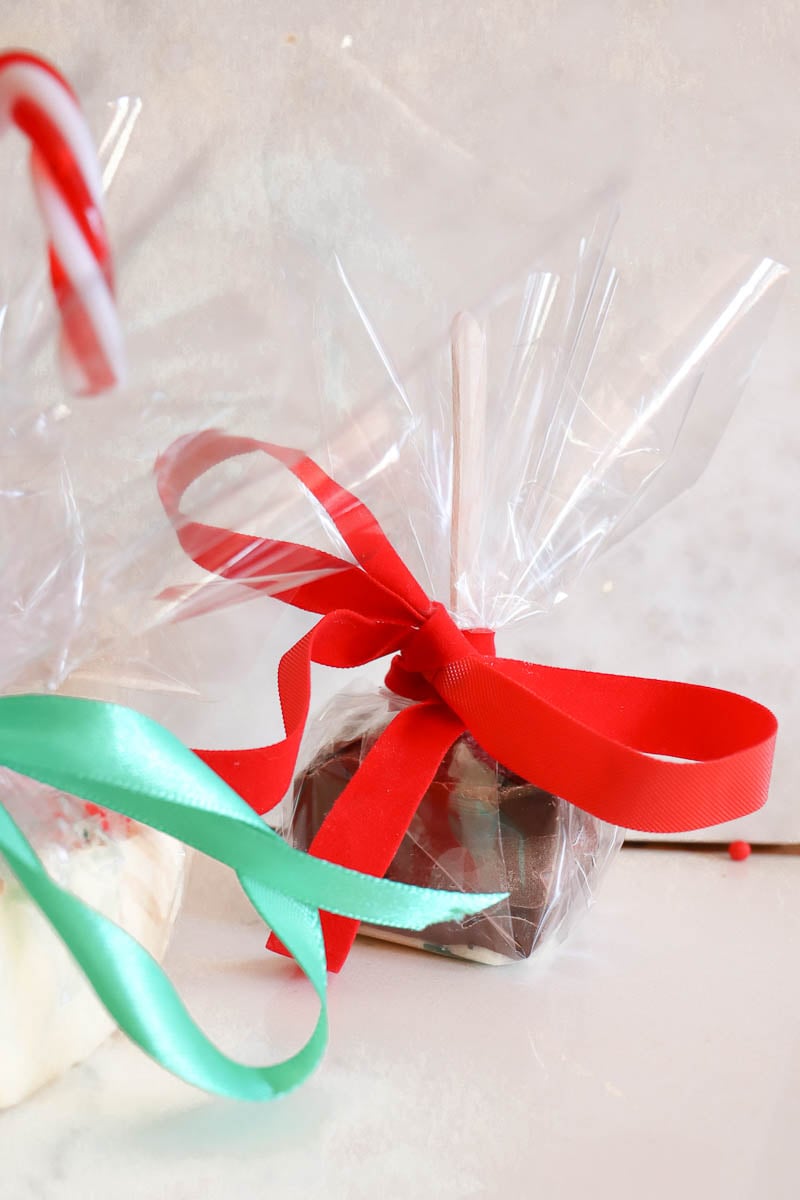
Once your chocolate spoons are out of their molds, don’t be tempted to use them straight away (as tough as it is). Wrapping them up to get ready for gifting is part of the fun.
The easiest way to wrap individual spoons is with cellophane sheets and a ribbon. Cut a square of cellophane and wrap it around the bottom, with the ends coming up toward the spoon. Use the ribbon to tie it securely around the spoon.
Without molds, spoons can be packaged together in clear bags to ensure the toppings are visible. Seal the bag to keep them fresher for longer and add a small card with a personal message.
If you want to complete the gift, place a few spoons inside a Christmas-themed mug and wrap the whole thing in cellophane. That way, all there is left to do is add milk and you’re good to go.

How Long Do Hot Chocolate Spoons Last?
Anything relating to hot cocoa doesn’t last long in my home. But these homemade spoons are generally good for about two weeks or so in the fridge. It will vary depending on how they are stored and what toppings you’ve added, so if you’re on the fence, use them sooner rather than later.
How to Use Hot Chocolate Spoons
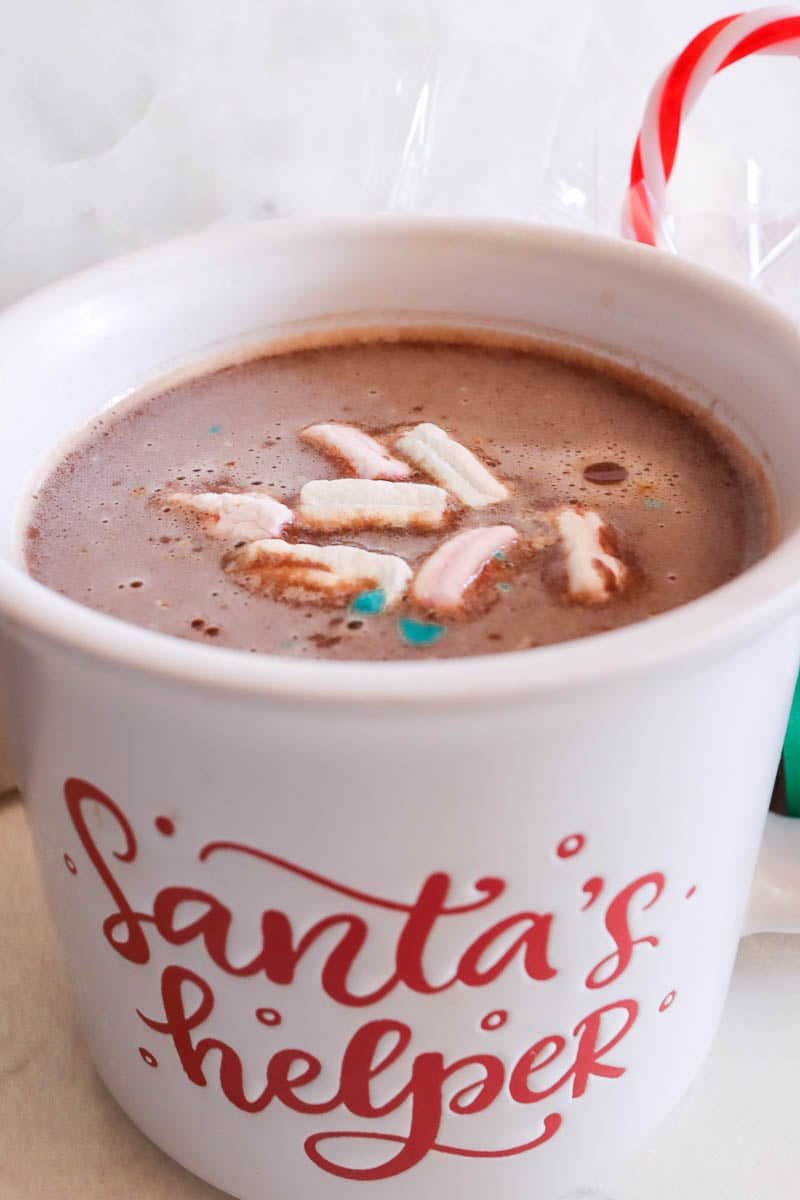
If you want to go the extra mile, you can print out a little set of instructions on how to use the hot chocolate spoons to go with the gift. The process is simple:
- Warm one cup of milk (any kind of milk).
- Slowly stir your hot chocolate spoon into the milk until it has melted.
- Serve with a side of the best Christmas cookies and enjoy!
The serving part does require some patience. It can take a while for the chocolate to melt fully. But I promise, it is well worth the wait.


Leave a Reply